|
In this lesson, I learned about colors. I learned about the RGB color wheel, hexadecimal codes, and RGB values. I used these skills in various different lessons, including the Color Names, and the Color Schemes assignments. In the color names, I labeled different colors, and used both their hexadecimal codes, as well as their RGB values to define the colors. In the color themes, assignment, I used the Adobe Color program to create different color schemes using the different types. Analogous, triadic, complementary, and monochromatic. Color Names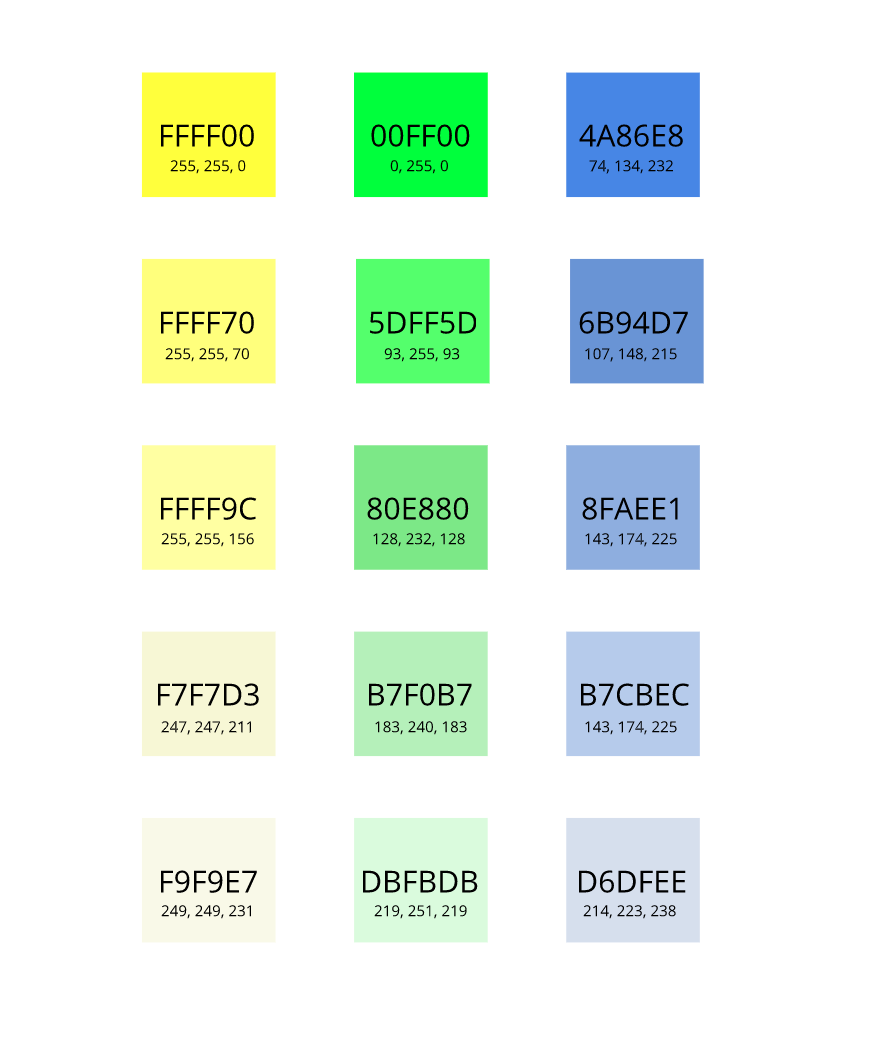 Color Schemes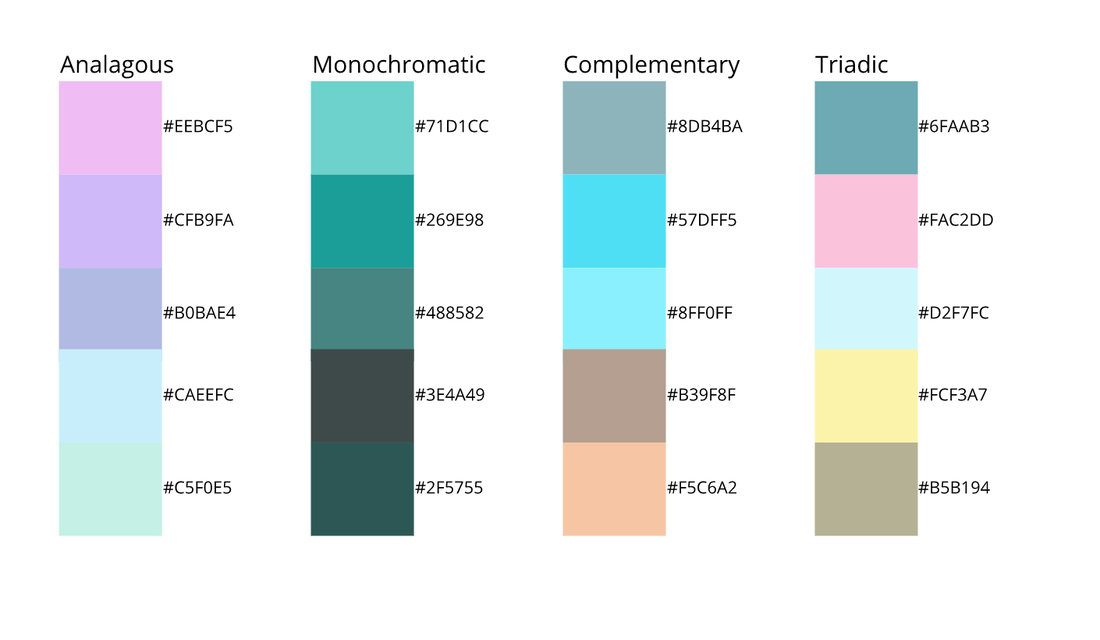
0 Comments
In this unit, I learned about Typography, and the C.R.A.P. design principles. C.R.A.P. stands for Contrast, Repetition, Alignment, and Proximity. I learned about what each mean and how they can be used to make a design look better, and convey a proper message. I learned about and looked at bad designs, which didn't use these principles, and learned how to avoid this. We also learned about fonts, or typefaces, and how they all have a meaning. This means that based on the theme of a font and how it looks, they will all convey a certain image or message. There are different types of fonts that convey different messages, and they are serif, sans serif, display, script, and monospace. They are all used for different purposes. Typeface ComparisonFor this assignment, I used different fonts to show all 5 types of fonts, and their names and type. The goal was to show all 5 types of fonts in a way that looks good, and uses all of the CRAP design principles.  Word PortaitsIn this lesson, I learned about the meanings of the different types of fonts, showing the certain types of fonts, and how they represent some things, and don't represent other things. I picked 10 different fonts, and chose 20 words that would represent each font. 10 of the words properly represented the respective font, while the other 10 did not. 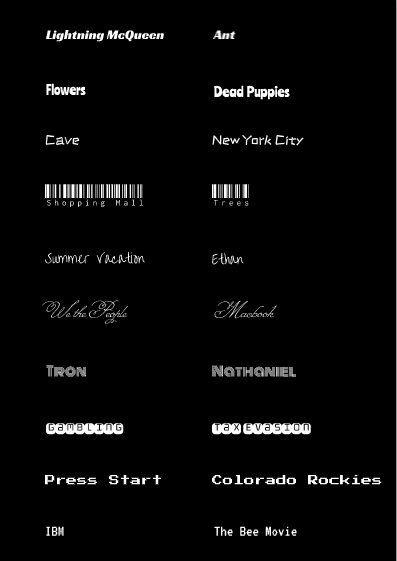 In this lesson, I learned about all of the different ways to use the pen tool. First, I learned how to create shapes and fill them in using the pen tool. I did this using the superhero exercises, where we traced many different shapes of superhero logos. Next, we did the penny exercises, where we learned the mask function, where you can cut out a part of a picture with a pen tool shape. Finally, we did a summative where we used all the skills to make a composite image using many different images and the pen tool. 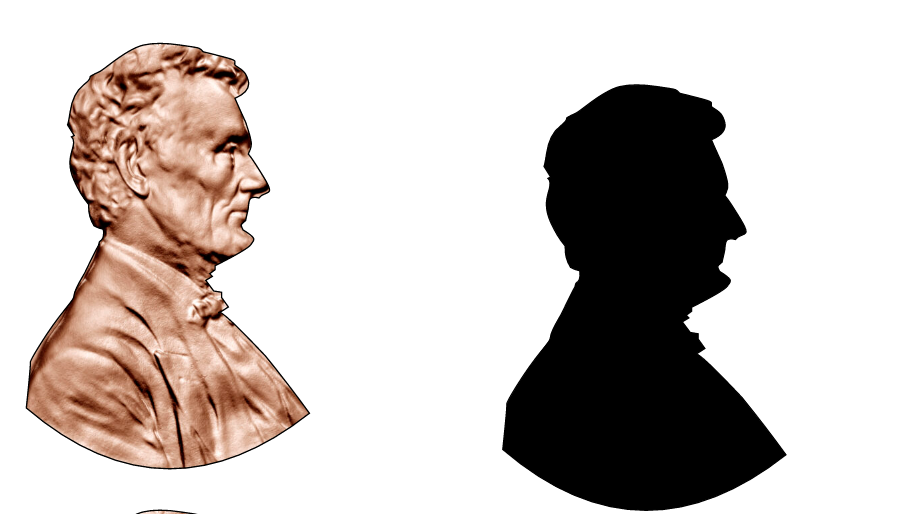 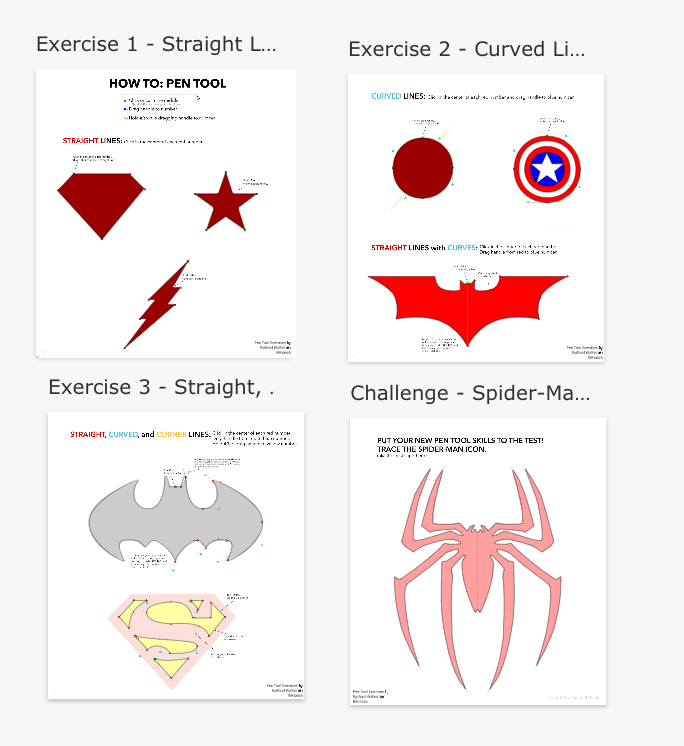  In this lesson I learned all about the shapes in Gravit. I learned how to do many things with the shapes such as combine them. When combining the shapes, I learned how to do many other things such as subtract a part of the shape, find the intersect point, as well as cut off the points where the shapes overlap. I also learned how to change the amounts of points in a shape and how to change the corners in a shape. 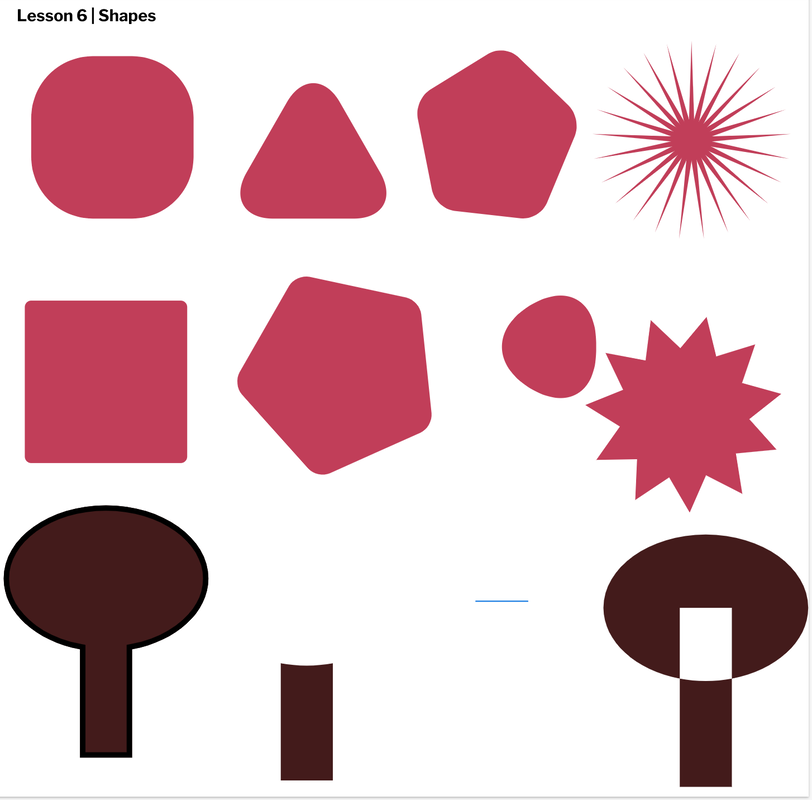 In this lesson, I learned how to do things like adjust the layers, distribute shapes, align them, and many keyboard shortcuts for things like grouping and alignment tools. 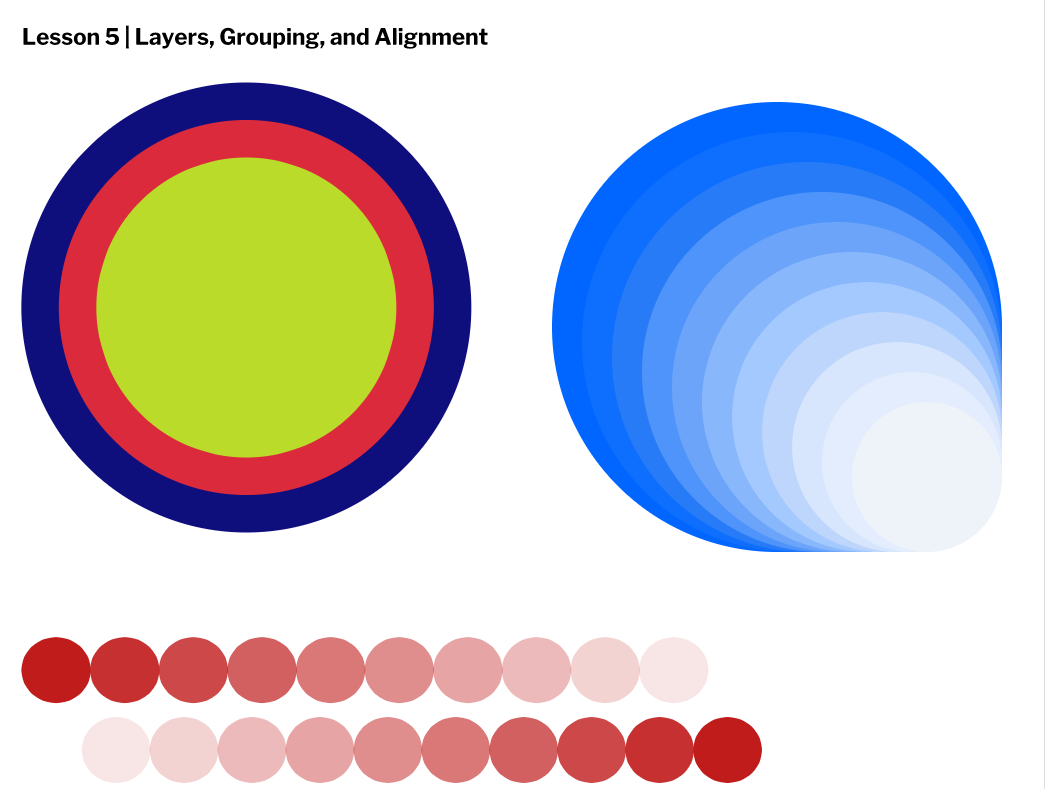 In this lesson, I learned how to use the selection tools in Gravit to modify shapes and paths. I learned how to transform shapes into paths, use the subselect tool in Gravit, and found out how to change the paths of shapes and modify how they look.  In this lesson, I learned about the fill and borders of shapes in Gravit. I learned how to adjust the borders in different ways such as the size, thickness, and even making dashed lines out of the border. I also learned how to make the fill different colors and different opacities. 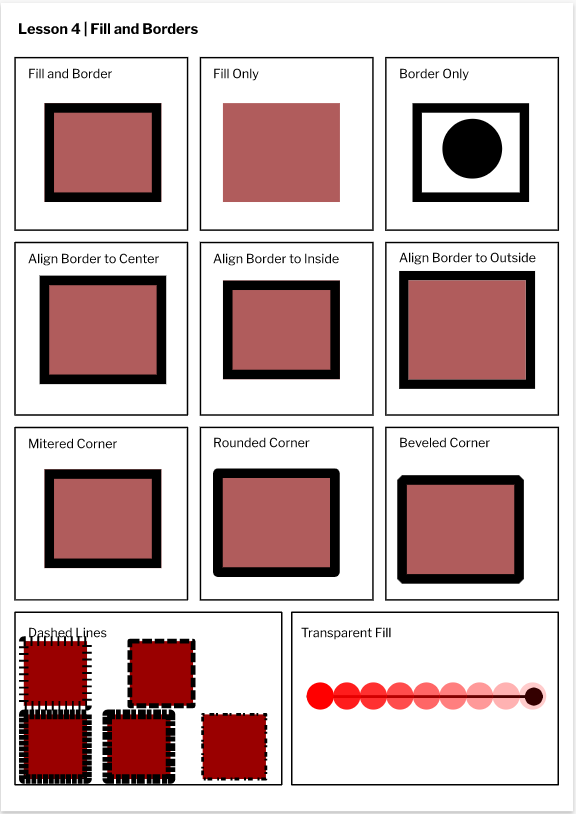 In this lesson, I learned how to use some of the elements of Gravit, a graphic design website. SOme of the things that I learned how to do are to make new pages in Gravit, how to add text boxes, change font, page, and text size, as well as doing things like autosaving things on Gravit 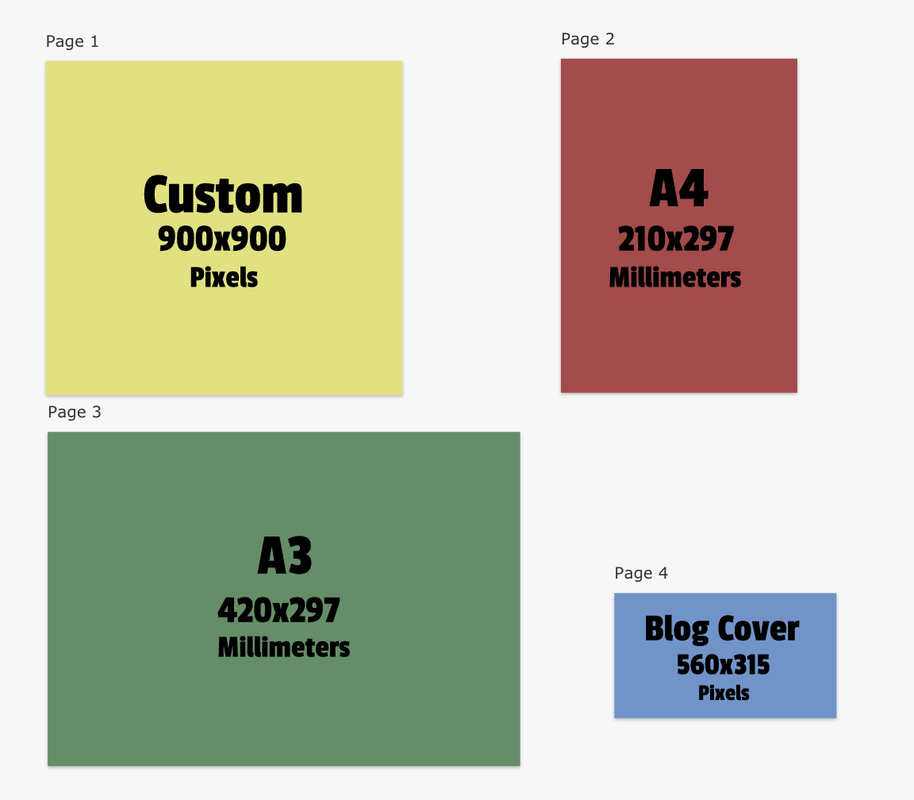 What I drew was just a generic face, with a blue background, and a gray shirt. I honestly don't know why I chose to make this, but either way it was fun to do. To make this, I used KhanAcademy. From this activity, I learned a lot about coding, and specifically drawing using code. I learned why it is important to pay attention to small details, since one small mistake can change the entire drawing. 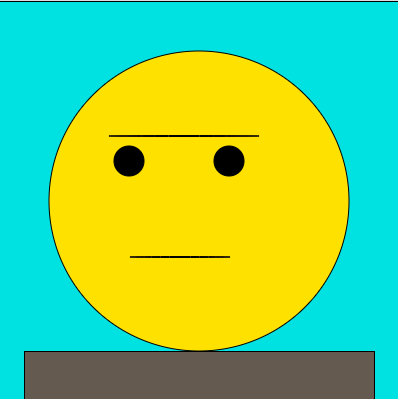 https://www.khanacademy.org/computing/hour-of-code/hour-of-code-lessons/hour-of-drawing-code/pt/making-drawings-with-code
Here is the code that I used to make this . fill(0, 225, 225); rect(0, 0, 1000, 1000); fill(255, 225, 0); ellipse(200, 200, 300, 300); fill(0, 0 , 0); ellipse(130, 160, 30, 30); ellipse(230, 160, 30, 30); fill(255, 100, 100); ellipse(181, 256, 100, 1 ); ellipse(185, 135, 150, 1 ); fill(100, 90, 80); rect(25, 350, 350, 87); |

